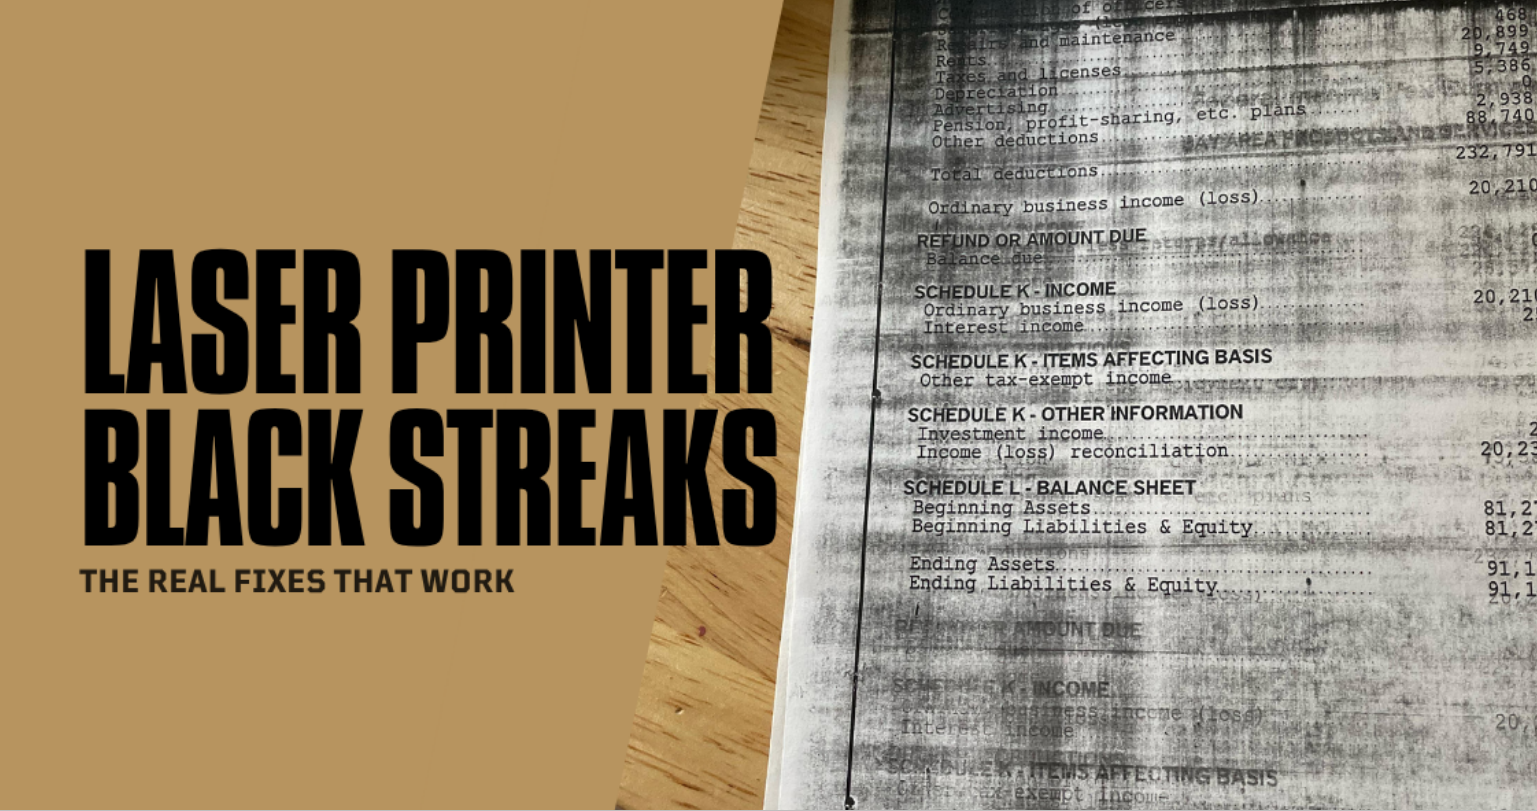
Learn how to fix printer streaks with simple solutions for clogged printheads, low ink, dirty rollers, toner issues, and other common printing problems.
What Are Printer Streaks?
Printer streaks are unwanted lines, marks, or uneven areas that appear on printed pages. They can appear vertically or horizontally and may be black, gray, colored, or white.
Common examples include:
- Black lines across the page
- White lines through text or images
- Repeated marks on every page
- Uneven colors in printed photos
- Smudged or blurry areas
- Faded sections of a document
The solution depends on the type of printer and the cause of the problem.
Common Causes of Printer Streaks
Before fixing the issue, it helps to understand what may be causing it.
Low Ink or Toner
Low ink or toner is one of the most common reasons for streaky printing. When the cartridge is nearly empty, the printer may not distribute ink or toner evenly.
Clogged Printhead
Inkjet printers can develop clogged printhead nozzles. Dried ink may prevent ink from flowing correctly, resulting in white lines or uneven colors.
Dirty Printer Components
Dust, excess ink, toner particles, or paper debris can build up inside the printer and cause unwanted marks.
Damaged or Poor-Quality Cartridges
Old, damaged, refilled, or low-quality cartridges may produce inconsistent print results.
Incorrect Paper
Paper that is damp, too rough, too thick, or unsuitable for the printer can affect print quality.
Toner or Drum Problems
Laser printers may develop streaks when the toner cartridge or imaging drum is damaged, dirty, or nearing the end of its usable life.
Step 1: Check the Ink or Toner Level
The first step is to check the ink or toner level.
Most modern printers allow you to check the remaining supply through the printer display or computer software. If the cartridge is low, replace it with a compatible cartridge.
After replacing the cartridge, print a test page to see whether the streaks have disappeared.
If the streaks remain, the problem may be caused by another component.
Step 2: Run the Printer’s Cleaning Function
Many inkjet printers include an automatic printhead cleaning feature.
You can usually find this option in the printer settings or maintenance menu. The printer will run a cleaning cycle to remove dried ink and improve the flow through the printhead.
After cleaning, print a test page.
If the problem continues, you may need to run another cleaning cycle. However, avoid running automatic cleaning repeatedly because it can use a significant amount of ink.
Step 3: Perform Printhead Alignment
Misaligned printheads can cause uneven lines and poor print quality.
Many printers include a printhead alignment tool in the maintenance settings. The printer may print a test pattern and ask you to select the best alignment.
Follow the instructions provided by your printer software.
Printhead alignment can be especially helpful when text appears uneven or images contain visible lines.
Step 4: Clean the Printhead Carefully
If automatic cleaning does not solve the problem, the printhead may require additional cleaning.
Some printers have removable printheads, while others require cleaning through the cartridge system. Always follow the manufacturer’s instructions before removing any printer components.
Avoid using excessive force or unsuitable cleaning liquids. Incorrect cleaning can damage sensitive printer parts.
Step 5: Clean the Inside of the Printer
Dust and debris inside the printer can create streaks and marks.
Turn off the printer and unplug it before cleaning. Remove loose paper and carefully inspect the inside for:
- Dust
- Paper fragments
- Excess ink
- Loose toner
- Dirt around rollers
Use a soft, dry, lint-free cloth where appropriate. Avoid touching sensitive components unnecessarily.
For laser printers, be particularly careful around the drum because fingerprints or scratches can affect print quality.
Step 6: Check the Paper
The type and condition of your paper can affect printing results.
Make sure the paper is:
- Dry
- Clean
- Flat
- Suitable for your printer
- Loaded correctly
Avoid using paper that has been stored in a damp environment. Moisture can cause paper to feed incorrectly and may contribute to smudging or uneven printing.
You should also check that the printer settings match the paper type. For example, selecting the wrong paper setting may affect how much ink is applied.
Step 7: Replace the Ink or Toner Cartridge
If cleaning does not solve the problem, the cartridge itself may be defective.
Consider replacing the cartridge if:
- The streaks appear on every page
- The cartridge is old
- The cartridge has been refilled multiple times
- The cartridge appears damaged
- The printer reports an error
Use a cartridge that is compatible with your printer model.
Step 8: Check the Drum on a Laser Printer
Laser printers use an imaging drum to transfer toner to the paper. A damaged or dirty drum can create repeated lines or marks.
If the same mark appears at regular intervals on every page, the drum may be the cause.
Depending on the printer model, the drum may be built into the toner cartridge or installed as a separate component.
Check the printer’s maintenance instructions to determine whether the drum needs cleaning or replacement.
Step 9: Check the Printer Rollers
Dirty or damaged rollers can cause paper feeding problems and unwanted marks.
If you notice repeated marks or uneven paper movement, inspect the rollers for dust or debris.
Clean them only according to the manufacturer’s recommended procedure. Using too much liquid or applying excessive pressure may damage the printer.
Step 10: Update Printer Software and Drivers
In some cases, printing problems can be related to outdated software or drivers.
Check whether your printer has updated software available. Installing the correct driver may improve compatibility between the printer and your computer.
This is particularly useful if the problem started after:
- Installing a new operating system
- Changing computers
- Updating printer software
- Changing printing applications
Printer Streaks vs. Printer Smudges
It is important to identify the exact problem.
Printer Streaks
Streaks usually appear as lines or uneven sections across the page. They may be caused by clogged printheads, low ink, dirty components, or drum problems.
Printer Smudges
Smudges are areas where ink or toner appears to spread or rub off. They may be caused by wet ink, incorrect paper, excessive toner, or problems with the fuser in a laser printer.
Identifying the problem correctly can help you choose the right solution.
How to Fix Black Lines on Printed Pages
Black lines may be caused by:
- Dirty printheads
- Excess toner
- A damaged drum
- Dirty rollers
- Internal printer debris
Start by printing a test page. If the line appears in the same location on every page, inspect the cartridge, drum, and internal components.
If cleaning does not solve the issue, replacing the cartridge or drum may be necessary.
How to Fix White Lines on Printed Pages
White lines are often associated with:
- Low ink
- Clogged printhead nozzles
- Uneven toner distribution
- Cartridge problems
For an inkjet printer, run a printhead cleaning cycle. For a laser printer, check the toner cartridge and imaging drum.
How to Prevent Printer Streaks
Regular maintenance can help reduce the risk of streaks.
Use Quality Supplies
Use compatible ink, toner, and paper that are suitable for your printer.
Print Regularly
Inkjet printers may experience dried ink problems if they remain unused for long periods.
Store Paper Properly
Keep paper in a dry, clean environment.
Keep the Printer Clean
Remove dust and paper debris regularly.
Replace Cartridges When Necessary
Do not continue using damaged or defective cartridges.
Follow Maintenance Instructions
Use the printer’s built-in cleaning and maintenance features when needed.
When Should You Contact a Professional?
You may need professional assistance if:
- Streaks continue after replacing the cartridge
- The printer makes unusual noises
- Internal components appear damaged
- The printer has experienced physical damage
- The problem is related to a complex mechanical component
If the repair cost is high, compare it with the price of replacing the printer.
Frequently Asked Questions
Why does my printer print with lines?
Lines may be caused by low ink, clogged printheads, dirty components, damaged cartridges, or problems with the drum in a laser printer.
Can printer streaks be fixed without replacing the cartridge?
Yes. Cleaning the printhead, checking the paper, and cleaning certain printer components may solve the problem. However, a damaged or empty cartridge may need replacement.
Why are my printed photos showing white lines?
White lines often indicate clogged inkjet printhead nozzles or uneven ink distribution.
Why does my laser printer leave black streaks?
Black streaks may be caused by a damaged toner cartridge, dirty or damaged drum, excess toner, or internal printer contamination.
How often should I clean my printer?
The frequency depends on how often you use the printer and the printer type. Clean it when print quality begins to decline and follow the manufacturer’s maintenance recommendations.
Final Thoughts
Printer streaks are a common problem, but they can often be fixed with simple troubleshooting. Start by checking the ink or toner level, cleaning the printhead or relevant components, inspecting the paper, and checking the cartridge.
If the problem continues, the issue may involve the drum, rollers, or another internal component. Regular cleaning and proper maintenance can help keep your printer working smoothly and produce clearer, more professional-looking documents.
